
Growing your own garden is a rewarding experience that many people crave, especially when it comes to cultivating something as nutritious as the moringa plant. This time of year always reminds me of the incredible potential of urban gardening. If you’re someone who loves the idea of having a nutrient-rich plant right at home, this post is for you.
I’ve gathered together 9 Moringa seeds tips that make growing this superfood accessible and enjoyable, even in small urban spaces. Whether you’re an experienced gardener or just starting out, you’ll find these tips practical and actionable. By the end of this guide, you’ll be well-equipped to nurture your own thriving moringa plants, bringing a touch of green and a world of nutrition right into your home.
Are you ready to dive into the world of urban moringa gardening? I promise you’ll discover valuable insights that will transform your home gardening experience. Let’s explore how to maximize the growth of this remarkable plant, ensuring you enjoy its many benefits right from your kitchen.
Key Takeaways
– Start with high-quality moringa seeds to ensure healthy growth and robust plants.
– Assess your available space and prepare it properly for optimal planting conditions.
– Follow specific planting guidelines to help your moringa seeds germinate and thrive.
– Implement a smart watering schedule to maintain moisture without overwatering.
– Use organic fertilizers to boost your moringa’s nutritional value and enhance growth.
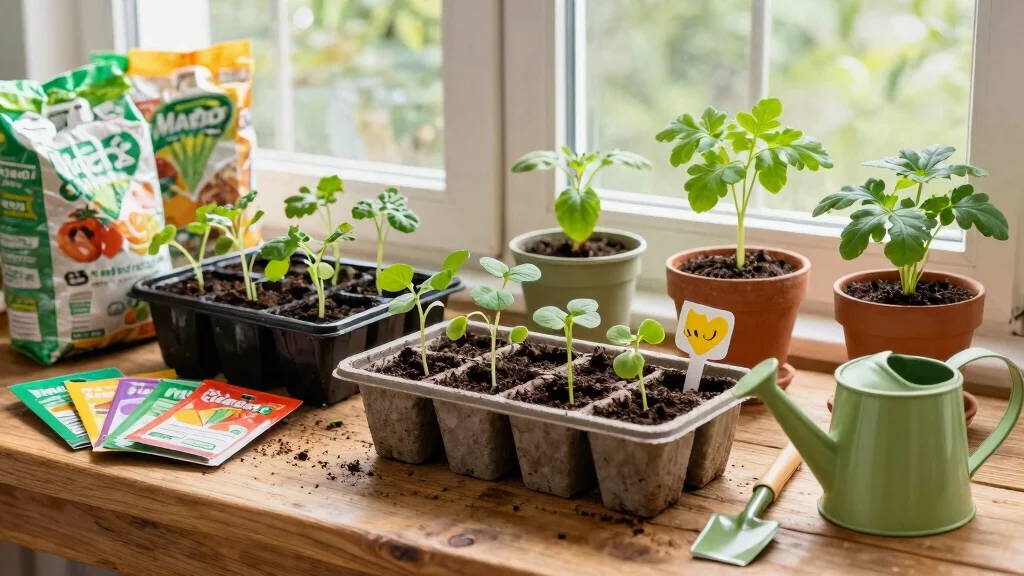
1. Choose the Right Moringa Seeds

Finding the right moringa seeds is your first step toward a thriving garden. Selecting high-quality, fresh seeds will set the foundation for your plants’ success. Moringa oleifera is the most well-known variety, celebrated for its nutritious leaves and pods, making it a perfect choice for home gardeners.
When shopping for seeds, prioritize quality over quantity. Look for seeds that are not only fresh but also sourced from reputable vendors. Doing a bit of research will ensure you choose the best variety suited to your gardening goals.
Key traits to consider:
– Freshness: Ensure seeds are from the current season.
– Organic: Organic seeds typically yield healthier plants.
– Variety: Select based on your specific needs and climate.
By choosing wisely, you’ll significantly boost your chances of growing robust moringa plants.
How To Choose The Right Moringa Seeds
Choosing the right moringa seeds is essential for a successful urban gardening experience. Moringa is known for its nutrient-rich leaves, making it a fantastic addition to your home garden. Here are some tips to help you select the best seeds for your space:
1. Seed Quality
Look for high-quality, fresh moringa seeds. Seeds that are over a year old may have a lower germination rate. You can find seeds through reputable online vendors or local gardening stores. Always check for reviews and ratings to ensure you’re getting the best quality seeds.
2. Seed Variety
There are different varieties of moringa, such as Moringa oleifera, which is the most popular for home gardening. Research the specific variety you want to grow. Some may be more tolerant to indoor conditions, while others thrive better outdoors. Choosing the right type will ensure your plant grows well in your selected environment.
3. Organic vs. Non-Organic
Opting for organic seeds can be beneficial for health-conscious gardeners. Organic seeds are grown without synthetic pesticides or fertilizers, resulting in a more natural growth process. This is especially important if you plan to consume the leaves. Always check for organic certifications if this is a priority for you.
4. Germination Rate
A seed’s germination rate indicates the percentage of seeds that will sprout. Look for seeds with a high germination rate (70% or higher). This information is often provided by the seller. Higher germination rates mean you’ll have more plants growing successfully in your small space.
5. Local Adaptation
Consider choosing seeds that are adapted to your local climate. If you live in a cooler area, look for seeds that can tolerate lower temperatures. Local adaptation can lead to better growth and yield. Consult with local gardening clubs or extension services for recommendations.
6. Price and Availability
Evaluate the price and availability of the seeds. While you don’t want to compromise on quality, you should also stay within your budget. Compare prices from various vendors and take advantage of sales or promotions. Keep an eye on seasonal offers to get the best deal without sacrificing quality.
Pro Tip: Always perform a simple germination test at home. Place a few seeds in a damp paper towel and see if they sprout within a week. This gives you a firsthand look at the seed quality before planting them in your garden.
Choosing the right moringa seeds lays the foundation for a thriving and nutritious plant at home. Pay attention to the quality, variety, and adaptability of the seeds for the best results. Happy gardening!
Choose the Right Moringa Seeds
Editor’s Choice

100 Moringa Seeds Approx | Moringa Seeds for Planting | Edible, Excellen…

Burpee SuperSeed Starting Tray | 16 XL Cell | Reusable & Dishwasher Safe…
2. Prepare Your Urban Space

Creating an ideal environment for your moringa seeds is crucial, especially in urban settings. Even the smallest spaces can be transformed into green havens with the right preparation. Moringa thrives in containers and can adapt well to various conditions.
Start by assessing the space you have available and consider utilizing vertical gardening techniques if space is tight. Ensure your setup promotes healthy growth with adequate sunlight and drainage.
Here’s how to get started:
– Choose Pots Wisely: Select pots at least 12 inches deep for root expansion.
– Soil Quality: Opt for well-draining soil mixed with compost for nutrients.
– Sunlight: Position pots in areas receiving a minimum of six hours of sunlight daily.
With thoughtful preparation, your urban space can flourish with vibrant moringa plants.
Prepare Your Urban Space
Editor’s Choice

Vertical Garden Planter 4 Tier Stackable System 16 Plants, Space Saving …

Groundio Moringa Seeds for Planting, 2 Ounce 140+ Seeds, 100% Natural Se…

Antonki 2 Pack Soil Moisture Meter, Plant Water Meter for Gardening, Far…
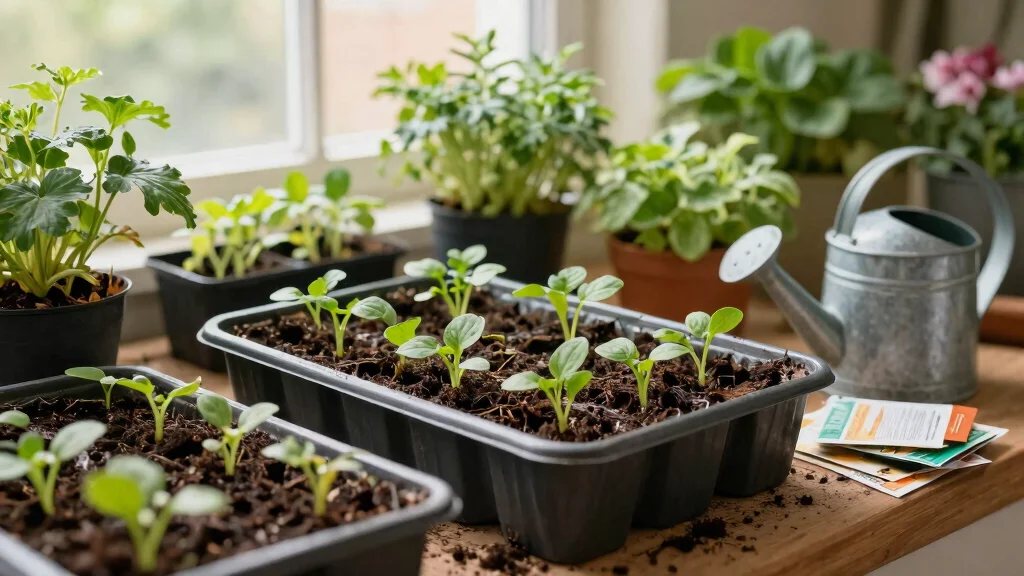
3. Planting Your Moringa Seeds

The success of your moringa garden hinges on proper planting techniques. Timing is key; spring is the best season to sow your seeds once frost risks have passed. Getting this stage right will pave the way for lush growth and a healthy harvest.
Plan your planting by ensuring that you give each seed ample space to thrive. This will prevent overcrowding and promote a healthy root system.
Follow these planting steps:
– Depth: Plant seeds about 1 inch deep in the soil.
– Spacing: Place seeds 3 feet apart for ideal growth.
– Watering: Lightly water seeds after planting to keep soil moist but not oversaturated.
These straightforward steps will help you establish a strong foundation for your moringa plants.
Planting moringa seeds is all about patience and space. Sow each seed about 1 inch deep in well-drained soil and give them room to spread roots. Start in spring after frost risk passes for a thriving, nutritious harvest.
Planting Your Moringa Seeds
Editor’s Choice

120 Cells Seed Starter Tray, 12 Pack Germination Peat Pots with 100 Labe…

Chapin 47998 Watering Can, 2 Gallon, Indoor and Outdoor Plants, Lawn, Ga…

Miracle-Gro Indoor Potting Mix for Seed Starting, For Starting Vegetable…
4. Watering Wisely

Moringa plants thrive on careful watering practices. While they enjoy sunny conditions, overwatering can lead to root issues. Striking this balance is essential for a healthy plant.
Monitor your plants closely to determine their specific water needs based on climate and soil conditions. Adjust your watering schedule accordingly to keep your plants happy.
Here are some effective watering tips:
– Frequency: Water every 2-3 days, adjusting for weather changes.
– Method: Use a watering can for gentle application.
– Signs of Need: Watch for drooping leaves as indicators of thirst.
By managing your watering wisely, you will support the flourishing growth of your moringa plants.
Fun fact: moringa seeds thrive with careful watering—overwatering can invite root rot. Most healthy setups water every 2-3 days, not daily. In hotter weather, adjust to 3 days; in cooler spells, stretch to 4.
Watering Wisely
Editor’s Choice

8/9/10 Inch Large Self Watering Pots, Plastic Flower Pots with Multi Mes…

Watering Can Indoor, Small Watering Cans for House Plants, Succulents an…

XLUX Long Probe Deep Use Soil Moisture Meter, Water Monitor Indicator Se…
5. Nutritional Boost with Fertilizers

Boosting the nutrient profile of your moringa plants can drastically improve their health and productivity. Organic fertilizers are an excellent option to ensure your plants get the best nutrients available.
Regularly enriching the soil will promote strong growth and enhance the nutritional value of the leaves you harvest.
Consider these fertilizer options:
– Compost: A natural way to enrich soil health.
– Fish Emulsion: Provides essential nutrients for robust growth.
– Bone Meal: Supports root development and overall plant vitality.
Applying fertilizer every 4-6 weeks will keep your plants thriving and nutritious.
You might also like
Nutritional Boost with Fertilizers
Editor’s Choice

Earth Science Natural Bone Meal Plant Food—3 lb—Plant Mix for Bulbs,…

Michigan Peat Compost and Manure Blend, Garden Magic Mix with Odor-Free …

Alaska Fish Fertilizer OMRI Listed 5-1-1, 115 oz
6. Pest Management Strategies

Moringa plants can attract pests, but you can keep them at bay with the right strategies. By being proactive and attentive, you can maintain a healthy garden without harsh chemicals.
Regular monitoring and inviting natural predators into your garden can make a significant difference in pest control.
Implement these effective strategies:
– Natural Predators: Attract ladybugs and lacewings to control pests naturally.
– Neem Oil: Use this natural remedy to deter pests safely.
– Regular Inspection: Frequently check for early signs of pest activity.
With these approaches, your moringa plants can thrive and remain resilient against pests.
Fun fact: Inviting natural predators like ladybugs and lacewings can slash pest numbers in a tiny moringa seeds garden by up to 60% within a week. No harsh chemicals needed—just smart monitoring and neem oil as a backup.
📹 Related Video: Moringa Pests & Problems | Heavy Metals & Soil Management | Moringa Masterclass Audiobook 1
Pest Management Strategies
Editor’s Choice

NaturesGoodGuys – Green Lacewing Eggs (5000 Eggs)

Verdana Organic Neem Oil – Cold Pressed, 100% Pure Neem Seed Oil, Conc…

Natures Good Guys 1500 Live Ladybugs – Good Bugs- Ladybugs – Guaranteed …
7. Pruning for Growth

Pruning is vital for keeping your moringa plant healthy and manageable, especially in limited spaces. Regular trimming encourages bushier growth and enhances leaf production.
Knowing when and how to prune will help maximize your plant’s potential without overwhelming your space.
Here are some pruning tips:
– Timing: Prune in early spring before new growth begins.
– Technique: Trim back leggy growth and remove unhealthy leaves.
– Frequency: Regularly shape your plant to promote new growth.
Careful pruning ensures your moringa remains productive and aesthetically pleasing.
Pruning for Growth
Editor’s Choice

Fiskars Bypass Pruning Shears, 5/8″ Cut Capacity Gardening Scissors, Sel…
8. Harvesting Your Moringa Leaves

Harvesting your moringa leaves is one of the most satisfying parts of gardening. Knowing the right time and method to collect them can enhance your experience and promote further growth.
Collecting leaves at the right point encourages continuous production, allowing you to enjoy the benefits of your hard work.
Here are some harvesting tips:
– Timing: Begin when the plant reaches about 3 feet tall.
– Technique: Use scissors to cut leaves without harming stems.
– Storage: Use fresh leaves immediately or air-dry for future use.
Harvesting regularly will not only provide nutritious greens but also stimulate your plant to grow even more.
You Might Also Like
Harvesting Your Moringa Leaves
Editor’s Choice

Moringa Oleifera Growing Kit, Moringa Seeds Complete Starter Set with 2 …

Burpee Organic Tomato & Vegetable Granular Plant Food, 4 lb
Fiskars Bypass Pruning Shears, 5/8″ Cut Capacity Gardening Scissors, Sel…
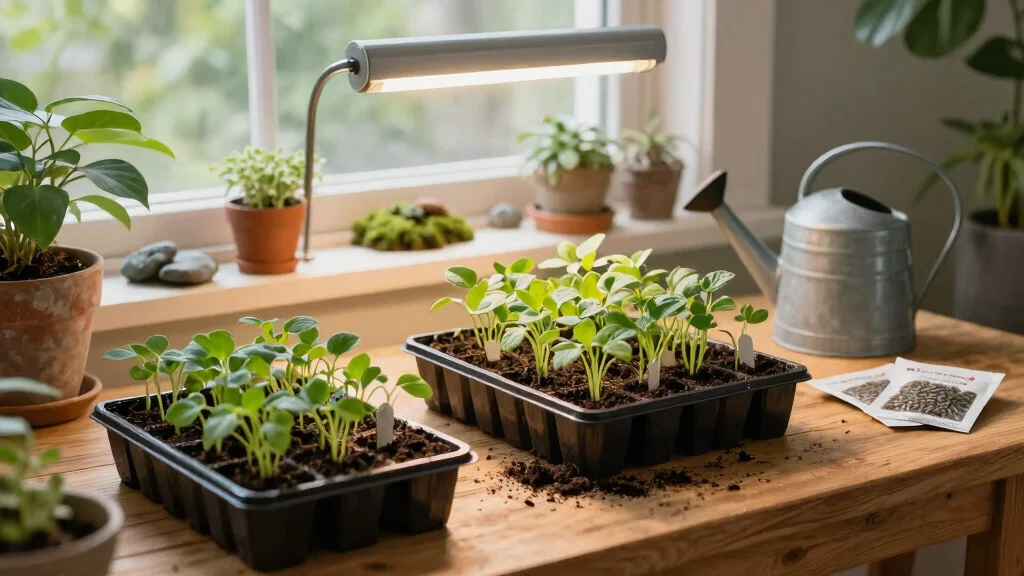
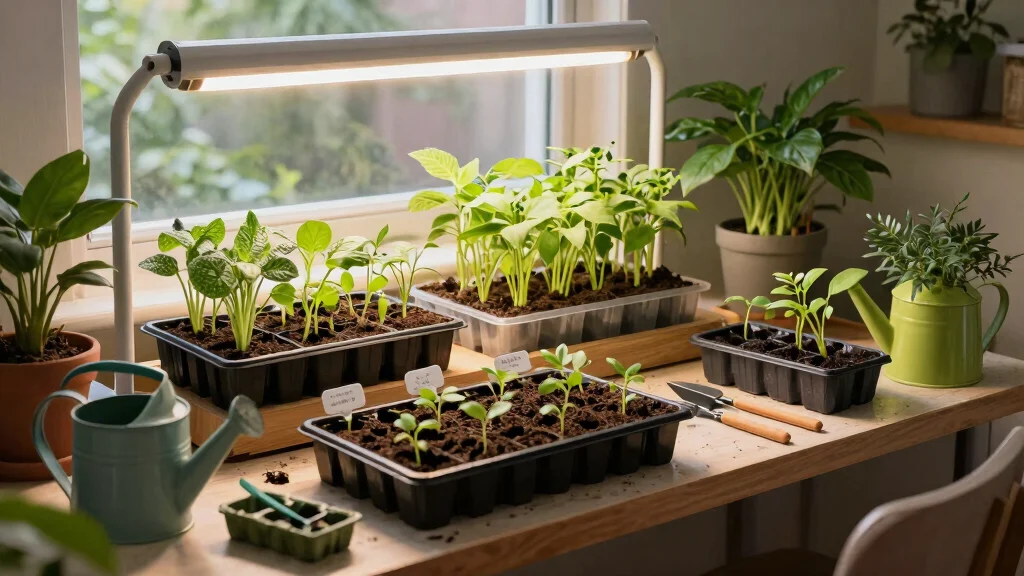
9. Indoor Moringa Cultivation

Limited outdoor space doesn’t have to stop you from growing moringa. You can successfully cultivate this superfood indoors, bringing the benefits of fresh greens right into your home.
Indoor cultivation requires some adjustments, but with the right care, you can enjoy thriving moringa plants year-round.
Consider these indoor gardening tips:
– Light Source: Supplement natural light with grow lights if needed.
– Potting: Ensure pots have drainage holes to prevent overwatering.
– Airflow: Keep the environment ventilated for healthy growth.
With proper indoor conditions, you can enjoy the joys of growing moringa right in your living space.
Indoor Moringa Cultivation
Editor’s Choice

Gepege 6 Inch Beaded Ceramic Planter Set of 2 with Drainage Hole and Sau…

GooingTop LED Grow Light,6000K Full Spectrum Clip Plant Growing Lamp wit…

Burpee, 9 Quarts | Premium Organic Potting Natural Soil Mix Food Ideal f…
Conclusion

Growing moringa at home is not just a rewarding experience; it’s also a step toward a healthier lifestyle. With the right tips and a little patience, you can cultivate this amazing plant even in small urban spaces.
Embrace the journey of gardening, enjoy nurturing your moringa seeds, and reap the benefits of its rich nutrition. Dive into your gardening adventure today!
Note: We aim to provide accurate product links, but some may occasionally expire or become unavailable. If this happens, please search directly on Amazon for the product or a suitable alternative.
This post contains Amazon affiliate links, meaning we may earn a small commission if you purchase through our links, at no extra cost to you.
Frequently Asked Questions
How can I successfully grow moringa seeds in a small urban space?
Start with a wide, tall container and a well-draining potting mix. Sow 2–3 moringa seeds about 1 inch deep, then thin to the strongest seedling. Give 6–8 hours of bright light (sunny window or grow lights) and water when the top inch of soil dries, avoiding soggy roots. Germination typically happens in 7–14 days. As plants grow, provide support and prune to encourage a compact shape ideal for small spaces, and keep an eye on indoor temperatures above 70°F for optimal growing moringa.
What is the essential moringa plant care routine for container growing?
In a sunny spot, moringa plant care basics are light, water, and nutrient management. Water consistently but let the soil dry a bit between waterings to avoid root rot, and drain excess water. Feed with a balanced organic fertilizer every 4–6 weeks during the growing season. Prune regularly to keep a bushy, compact shrub in a small pot, and repot when roots become crowded. Watch for pests like aphids and spray with soapy water if needed.
How fast does moringa grow indoors, and when can I start harvesting leaves or seeds?
With warm temperatures and bright light, you can start harvesting young leaves from your container moringa plant about 6–8 weeks after germination. Regular pruning will encourage more leafy growth and give you a steady supply of nutrient-rich leaves for home gardening tips. Seeds and pods can form in the right conditions, but indoor pots often won’t fruit reliably; for small-space setups, focus on leaves. Harvest leaves as needed, and avoid removing more than one‑third of the foliage at a time.
How should I store or save moringa seeds for future plantings?
Dry the harvested moringa seeds completely and store them in a sealed, opaque container in a cool, dry place. Keep the container in a pantry or fridge to extend viability. Label with the date; moringa seeds remain viable for about 1–2 years if kept dry. Check germination rate before planting to ensure good results.
What common problems should I watch for when growing moringa in small spaces, and how can I fix them?
Common issues include overwatering leading to root rot, low light causing leggy growth, and pests like aphids or whiteflies. Fixes: ensure drainage, let soil dry slightly between waterings, move to brighter spot or add grow lights, prune to improve air circulation, and wipe leaves with soapy water or use insecticidal soap if pests appear.
Related Topics
moringa seeds
urban gardening
small space gardening
indoor cultivation
nutrient-rich plants
home gardening tips
moringa plant care
easy gardening
sustainable plants
beginner friendly
quick tips
growing moringa